The worst thing for a computer user has happened. The hard drive on your computer crashed, or your computer is lost or completely unusable.
Fortunately, you’re a Backblaze customer with a current backup in the cloud. That’s great. The challenge is that you’ve got a presentation to make in just 48 hours and the document and materials you need for the presentation were on the hard drive that crashed.
Relax. Backblaze has your data (and your back). The question is, how do you get what you need to make that presentation deadline?
Here are some strategies you could use.
One — The first approach is to get back the presentation file and materials you need to meet your presentation deadline as quickly as possible. You can use another computer (maybe even your smartphone) to make that presentation.
Two — The second approach is to get your computer (or a new computer, if necessary) working again and restore all the files from your Backblaze backup.
Let’s start with Option One, which gets you back to work with just the files you need now as quickly as possible.
Option One — You’ve Got a Deadline and Just Need Your Files
Getting Back to Work Immediately
You want to get your computer working again as soon as possible, but perhaps your top priority is getting access to the files you need for your presentation. The computer can wait.
Find a Computer to Use
First of all. You’re going to need a computer to use. If you have another computer handy, you’re all set. If you don’t, you’re going to need one. Here are some ideas on where to find one:
- Family and Friends
- Work
- Neighbors
- Local library
- Local school
- Community or religious organization
- Local computer shop
- Online store
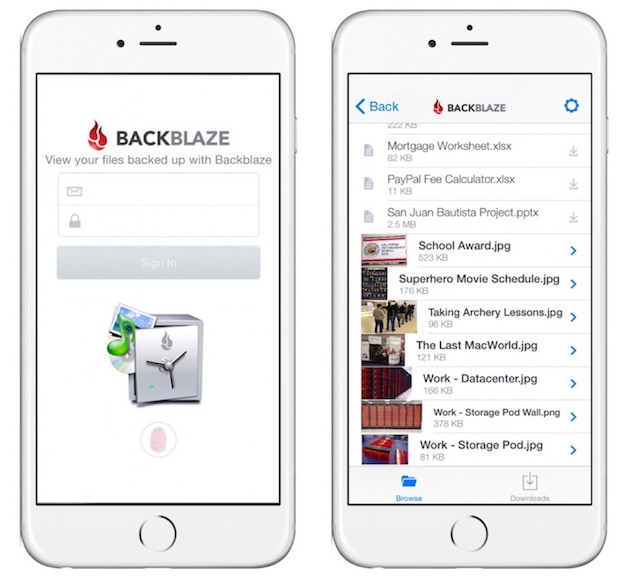
If you have a smartphone that you can use to give your presentation or to print materials, that’s great. With the Backblaze app for iOS and Android, you can download files directly from your Backblaze account to your smartphone. You also have the option with your smartphone to email or share files from your Backblaze backup so you can use them elsewhere.
Download The File(s) You Need
Once you have the computer, you need to connect to your Backblaze backup through a web browser or the Backblaze smartphone app.
Backblaze Web Admin
Sign into your Backblaze account. You can download the files directly or use the share link to share files with yourself or someone else.
If you need step-by-step instructions on retrieving your files, see Restore the Files to the Drive section below. You also can find help at https://help.backblaze.com/hc/en-us/articles/217665888-How-to-Create-a-Restore-from-Your-Backblaze-Backup.
Smartphone App
If you have an iOS or Android smartphone, you can use the Backblaze app and retrieve the files you need. You then could view the file on your phone, use a smartphone app with the file, or email it to yourself or someone else.
Backblaze Smartphone app (iOS)
Using one of the approaches above, you got your files back in time for your presentation. Way to go!
Now, the next step is to get the computer with the bad drive running again and restore all your files, or, if that computer is no longer usable, restore your Backblaze backup to a new computer.
Option Two — You Need a Working Computer Again
Getting the Computer with the Failed Drive Running Again (or a New Computer)
If the computer with the failed drive can’t be saved, then you’re going to need a new computer. A new computer likely will come with the operating system installed and ready to boot. If you’ve got a running computer and are ready to restore your files from Backblaze, you can skip forward to Restore the Files to the Drive.
If you need to replace the hard drive in your computer before you restore your files, you can continue reading.
Buy a New Hard Drive to Replace the Failed Drive
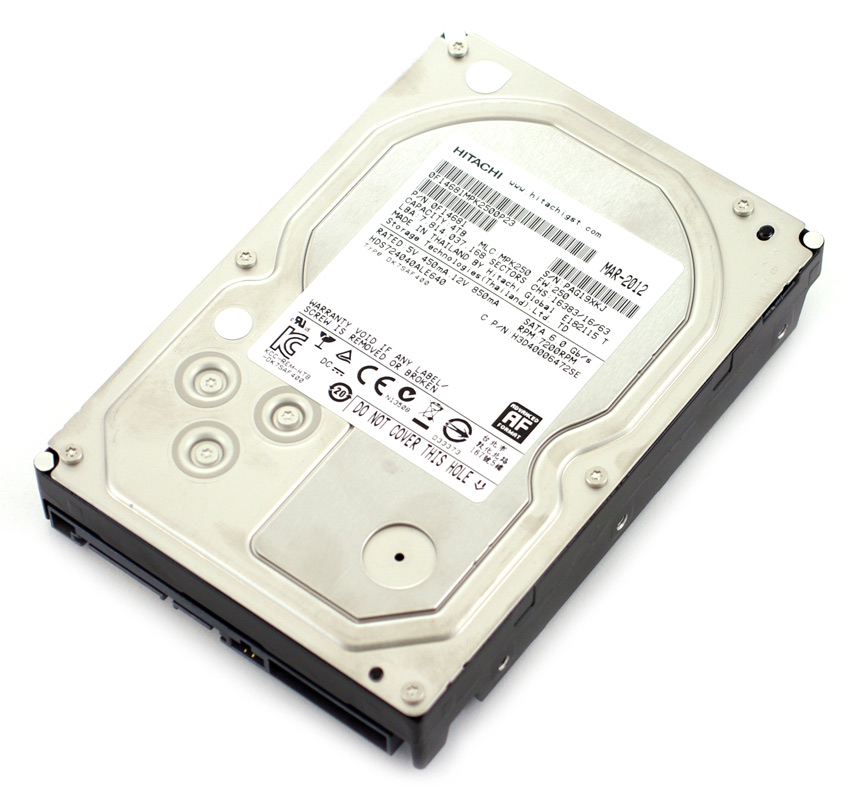
The hard drive is gone, so you’re going to need a new drive. If you have a computer or electronics store nearby, you could get one there. Another choice is to order a drive online and pay for one or two-day delivery. You have a few choices:
- Buy a hard drive of the same type and size you had
- Upgrade to a drive with more capacity
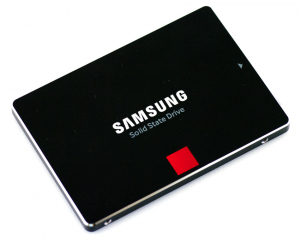
- Upgrade to an SSD. SSDs cost more but they are faster, more reliable, and less susceptible to jolts, magnetic fields, and other hazards that can affect a drive. Otherwise, they work the same as a hard disk drive (HDD) and most likely will work with the same connector.
Be sure that the drive dimensions are compatible with where you’re going to install the drive in your computer, and the drive connector is compatible with your computer system (SATA, PCIe, etc.) Here’s some help.
Install the Drive
If you’re handy with computers, you can install the drive yourself. It’s not hard, and there are numerous videos on YouTube and elsewhere on how to do this. Just be sure to note how everything was connected so you can get everything connected and put back together correctly. Also, be sure that you discharge any static electricity from your body by touching something metallic before you handle anything inside the computer. If all this sounds like too much to handle, find a friend or a local computer store to help you.
Note: If the drive that failed is a boot drive for your operating system (either Macintosh or Windows), you need to make sure that the drive is bootable and has the operating system files on it. You may need to reinstall from an operating system source disk or install files.
Restore the Files to the Drive
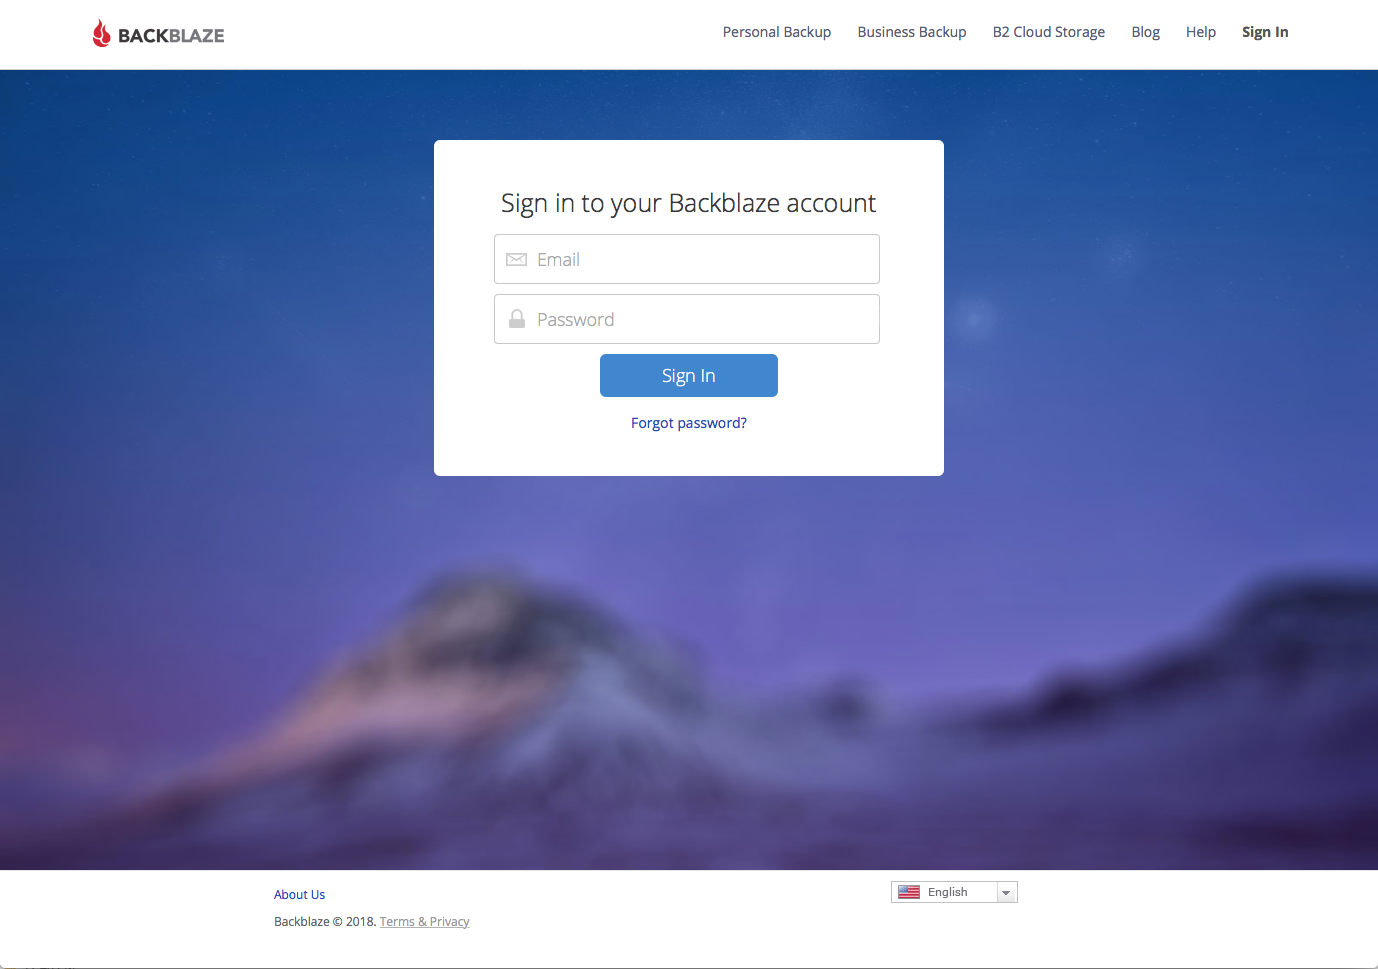
To start, you will need to sign in to the Backblaze website with your registered email address and password. Visit https://secure.backblaze.com/user_signin.htm to login.
Selecting the Backup
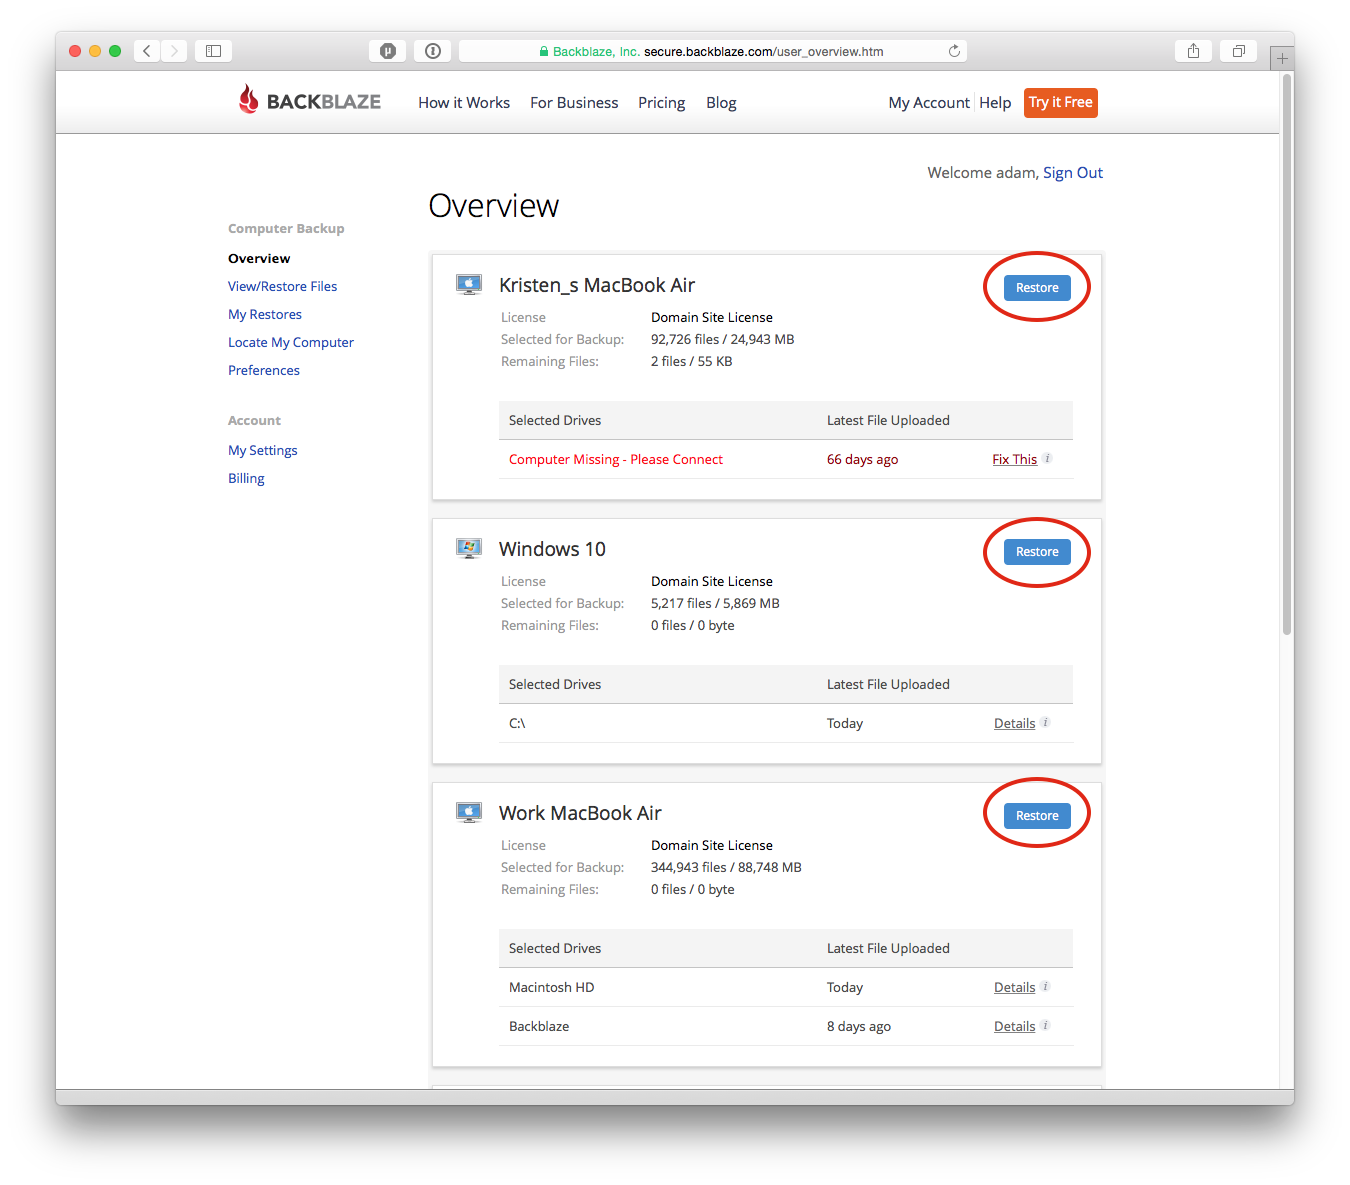
Once logged in, you will be brought to the account Overview page. On this page, all of the computers registered for backup under your account are shown with some basic information about each. Select the backup from which you wish to restore data by using the appropriate “Restore” button.
Selecting the Type of Restore
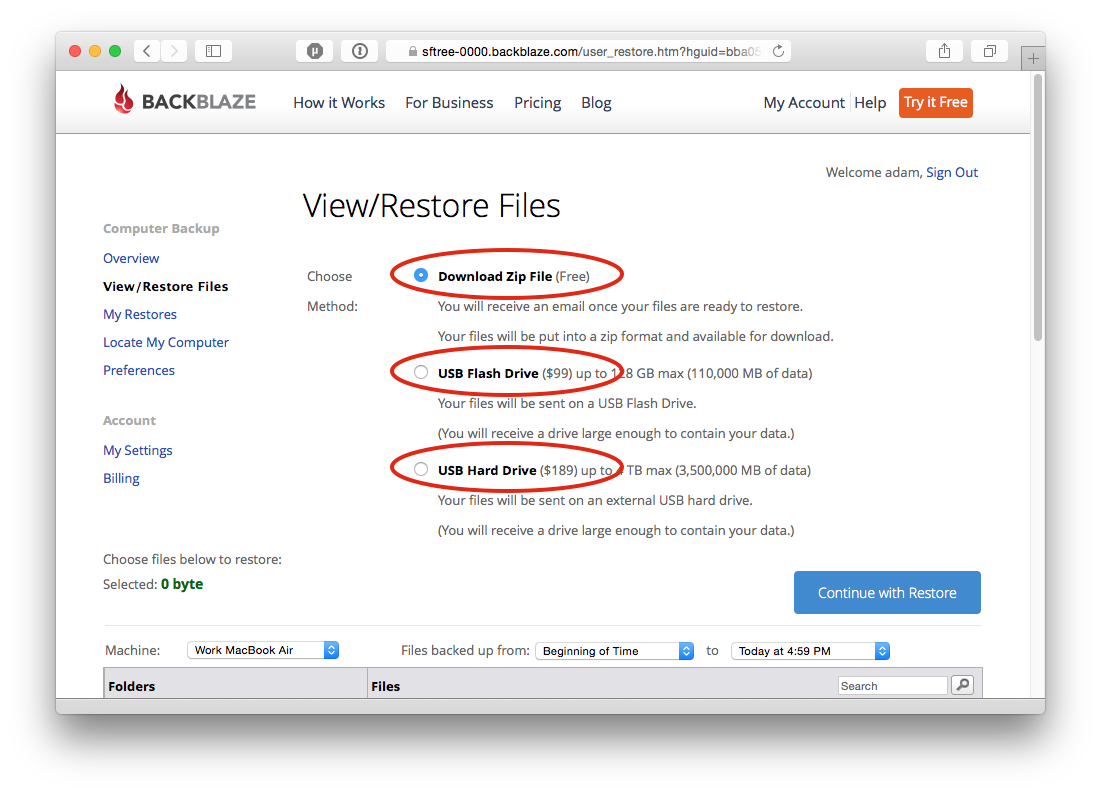
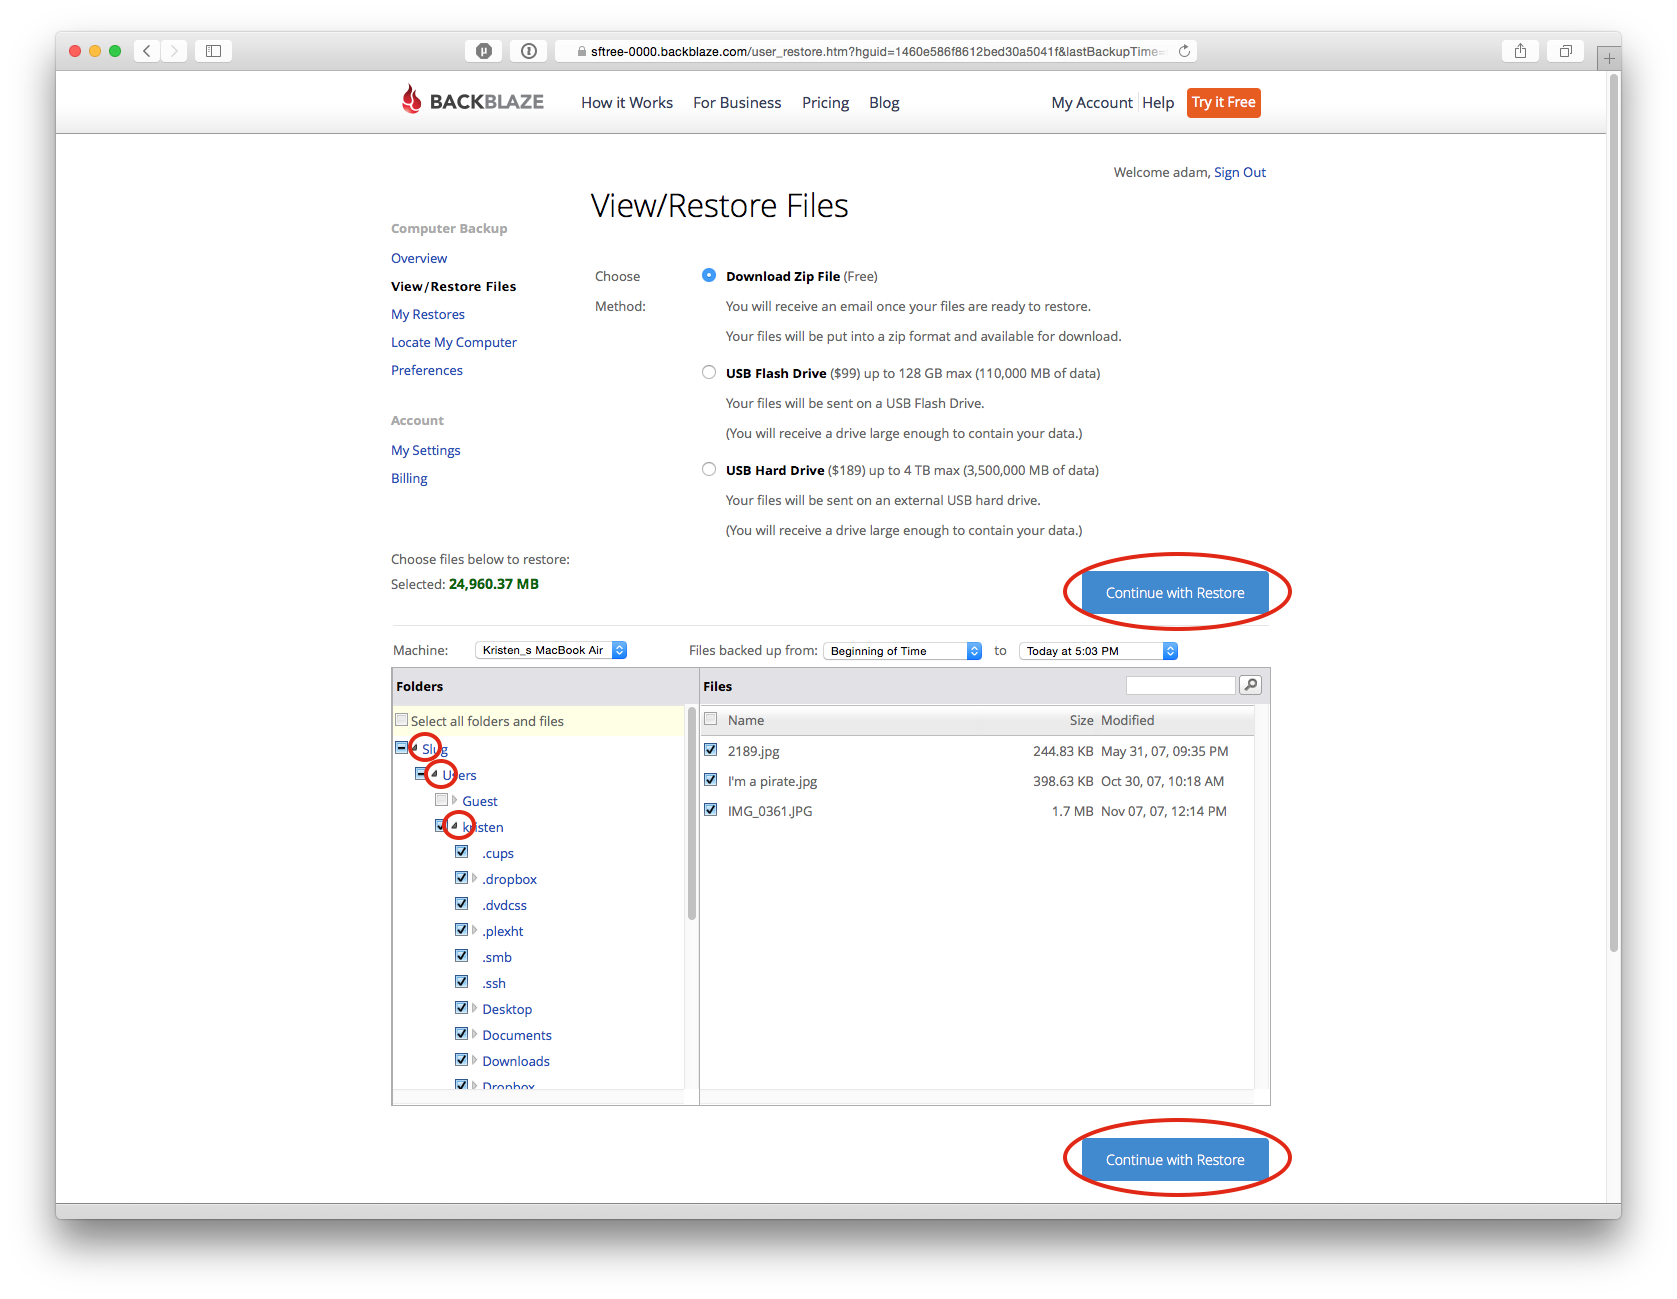
Backblaze offers three different ways in which you can receive your restore data: downloadable ZIP file, USB flash drive, or USB hard drive. The downloadable ZIP restore option will create a ZIP file of the files you request that is made available for download for 7 days. ZIP restores do not have any additional cost and are a great option for individual files or small sets of data.
Depending on the speed of your internet connection to the Backblaze data center, downloadable restores may not always be the best option for restoring very large amounts of data. ZIP restores are limited to 500 GB per request and a maximum of 5 active requests can be submitted under a single account at any given time.
USB flash and hard drive restores are built with the data you request and then shipped to an address of your choosing via FedEx Overnight or FedEx Priority International. USB flash restores cost $99 and can contain up to 128 GB (110,000 MB of data) and USB hard drive restores cost $189 and can contain up to 4TB max (3,500,000 MB of data). Both include the cost of shipping.
You can return the USB drive within 30 days for a full refund with our Restore Return Refund Program, effectively making the process of restoring free, even with a shipped USB drive.
Selecting Files for Restore
Using the left hand file viewer, navigate to the location of the files you wish to restore. You can use the disclosure triangles to see subfolders. Clicking on a folder name will display the folder’s files in the right hand file viewer. If you are attempting to restore files that have been deleted or are otherwise missing or files from a failed or disconnected secondary or external hard drive, you may need to change the time frame parameters.
Put checkmarks next to disks, files or folders you’d like to recover. Once you have selected the files and folders you wish to restore, select the “Continue with Restore” button above or below the file viewer. Backblaze will then build the restore via the option you select (ZIP or USB drive). You’ll receive an automated email notifying you when the ZIP restore has been built and is ready for download or when the USB restore drive ships.
If you are using the downloadable ZIP option, and the restore is over 2 GB, we highly recommend using the Backblaze Downloader for better speed and reliability. We have a guide on using the Backblaze Downloader for Mac OS X or for Windows.
For additional assistance, visit our help files at https://help.backblaze.com/hc/en-us/articles/217665888-How-to-Create-a-Restore-from-Your-Backblaze-Backup
Extracting the ZIP
Recent versions of both macOS and Windows have built-in capability to extract files from a ZIP archive. If the built-in capabilities aren’t working for you, you can find additional utilities for Macintosh and Windows.
Install Programs and Applications
At this point you can install the programs and applications you need to get back to work. You’ll need to install them from the internet or from source disks you have. If you’ve thought ahead, you’ve got your account usernames, passwords, and authorization codes in a password manager (such as LastPass or 1Password) or other safe place that you can access to get your programs working again.
Reactivating your Backblaze Account
Now that you’ve got a working computer again, you’re going to need to reinstall Backblaze Backup (if it’s not on the system already) and connect with your existing account. Start by downloading and reinstalling Backblaze.
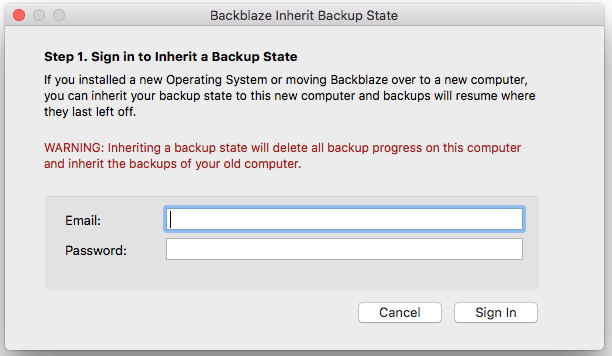
If you’ve restored the files from your Backblaze Backup to your new computer or drive, you don’t want to have to reupload the same files again to your Backblaze backup. To let Backblaze know that this computer is on the same account and has the same files, you need to use “Inherit Backup State.” See https://help.backblaze.com/hc/en-us/articles/217666358-Inherit-Backup-State
That’s It
You should be all set, either with the files you needed for your presentation, or with a restored computer that is again ready to do productive work.
We hope your presentation wowed ’em.
If you have any additional questions on restoring from a Backblaze backup, please ask away in the comments. Also, be sure to check out our help resources at https://www.backblaze.com/help.html.





 HDD vs SSD: What Does the Future for Storage Hold? — Part 2