on ALL of the Storage Pod versions, click here.
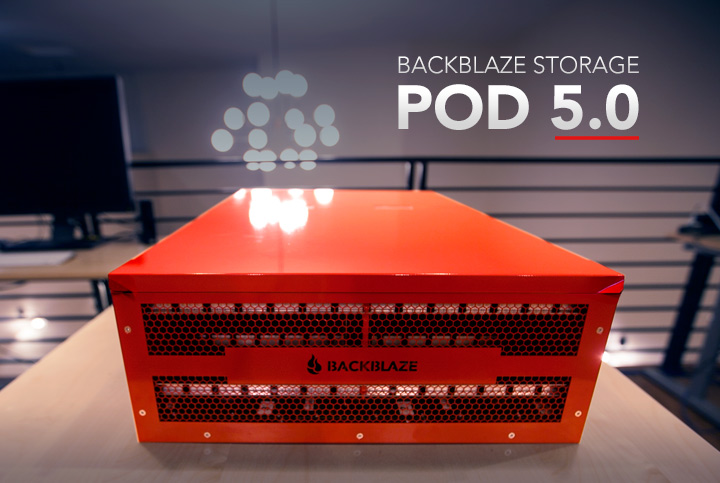
A couple of months ago, we gave you a sneak peek as we designed and prototyped our next generation Storage Pod. We’re done, and Storage Pod 5.0 is here and it is faster, beefier, easier to assemble, easier to maintain, and less expensive than Storage Pod 4.5. It is also the hardware that enables us to offer our newly announced Backblaze B2 Cloud Storage for just $0.005/GB/month. As always, the Storage Pod design is open-source and we’ve included the instructions and diagrams you’ll need to build your very own Storage Pod 5.0.
Building for the Future
Storage Pods have always been designed and built to provide Backblaze with low-cost data storage. When we decided that we were going to offer B2 Cloud Storage as the lowest cost cloud storage in the world, we doubled down on making our storage infrastructure more durable and more performant without raising the cost of storing data. Step one was designing and deploying the Backblaze Vault architecture to improve durability. Step two was designing and building Storage Pods that were more performant and lower cost to use in the Vaults. That’s why we built Storage Pod 5.0.
What’s New in Storage Pod 5.0
When you look at Storage Pod 5.0, nearly everything, inside and out, looks different than previous versions. Here’s Tim, our Chief Cloud Officer (CCO), to walk you through the changes…
We’ve grouped the changes as follows: performance, drive support, backplane tray, power, chassis, and fans. Let’s take a look at each.
Performance: We upgraded the motherboard, CPU, and SATA cards, and increased the memory to 32GB. Let’s compare:
| Storage Pod 4.5 | Storage Pod 5.0 | |
|---|---|---|
| Motherboard | Supermicro MBD-X9SCL-F | Supermicro MBD-X9SRH-7TF |
| Networking | 1GB on Motherboard | 10GB on Motherboard |
| CPU | Intel i3-2120 (Dual-core) | Intel Xeon E5-1620 V2 (Quad-core) |
| Memory | 8GB DDR3-1333 | 32GB DDR3-1600 |
| SATA Cards | PCIe x1 (500MB/s) | PCIe x2 (1000MB/s) |
| The need for speed… Backblaze Vaults combine twenty physical Storage Pods into one virtual chassis. The Vaults software implements our own Reed-Solomon encoding to spread data shards across all twenty Pods in the Vault simultaneously, dramatically improving durability. This drove the need for 10GB networking in Vault Pods so they could “talk” quickly amongst themselves. This also drove the need for more processing power and memory. |
With the increased cost of making Storage Pod 5.0 more performant to support Backblaze Vaults, the task was to reduce the costs of the other components. The remaining changes were implemented to reduce the combination of manufacturing, assembly, and maintenance costs.
The drawings/specifications for each of the following Storage Pod components are available for download as a 42MB ZIP file. Depending on the component there are 2D, 3D and/or STEP files available.
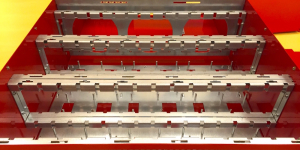
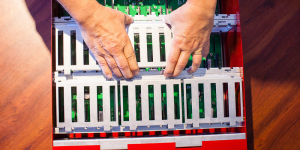
Drive Supports: The drive grids and 15-drive-wide drive lids have been replaced by a combination of drive support beams, plastic drive guides, and shorter drive lids which cover five drives instead of 15. These components work together to hold each hard drive firmly in place during operation and dampen vibrations while enabling easier installation and removal. Slits have also been cut in the drive lids so that the drive serial numbers can be read without removing the lid.
There are two plastic drive guides for each hard drive in the Storage Pod, 90 total. A guide attaches to the side of each drive into the mounting screw holes. Once attached, the drive slides into drive supports to guide the drive directly into the socket on the backplane.
The color of a given drive guide is not important. As shown above, the orange drive guide was 3D printed and the black drive guide was made by a third party plastics manufacturer.
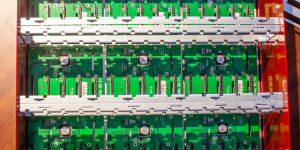
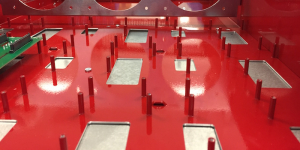
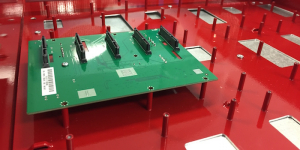
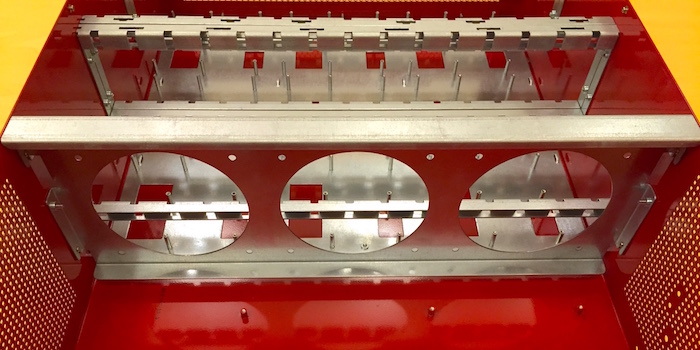
Backplane Tray: New to Storage Pod 5.0 is the Backplane Tray. The tray holds the power and SATA cable wiring and the backplanes are attached to the tray, creating a modular component which can be preassembled then installed and removed as a unit. This reduces assembly time as well as downtime caused by the replacement of a bad backplane or wire.
As part of the preassembly process, the SATA and power cables are run in a specific pattern. Here are the cable routing diagrams for both the Power and SATA cables, as well as which SATA cables connect to which SATA cards on the motherboard.
- Cable routing: Power cables.
- Cable routing: SATA cables.
- SATA cable connections to SATA cards on motherboard.
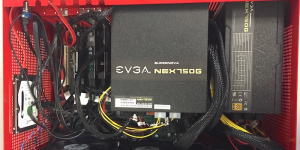
Power: In Storage Pod 5.0 we qualified and now use the EVGA SuperNOVA 750 G1 Power Supply. This reduces the cost of the power supply component by nearly 50%. There are two power supplies, each with their own wiring harness. We modularized each wiring harness into two assemblies. The first assembly, the pigtail, goes from the power supply to a 20- or 24-pin Molex connector and the second assembly goes from the Molex connector to the individual backplanes. To use an alternate power supply, you replace the pigtail assembly so it has the correct connections for the given power supply. The specifications for these cables are listed later in this post.
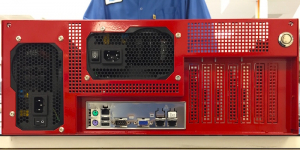
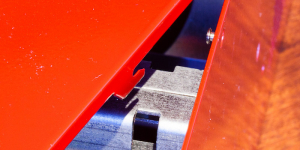
Chassis: The chassis is still a red 4U box, but it looks different. First, we changed the design to support recommendations for minimizing electromagnetic emissions. Second, we changed the faceplate to improve air flow-through with our cool laser-cut logo. Third, we made the two removable covers tool-less, creating covers that slide and latch into place. This removed the need to remove/insert screws to access the drive bay or motherboard bay, saving time during assembly and during maintenance (replacing a failed drive, for example).
| Missed it by that much! Storage Pods on their rails have always been almost seven inches high, a snug fit into a 4U space which is seven inches high. During the 5.0 design scrum, we first designed the lids to use thumbscrews to secure the covers. Using thumbscrews meant we had to use 20 gauge steel for the covers. We discovered that when we stacked multiple 5.0 Storage Pods in a rack, they were too snug. The thicker cover added too much height. To solve the problem, slide and latch covers made of 24 gauge steel were designed, built, and tested—they worked. They secured the covers, were easier to install and remove, and were less expensive. And yes, we could now stack multiple Storage Pods in a rack. |
Fans: About a year ago, we took a group of Storage Pods and removed the three fans at the end, leaving just three middle fans to cool the unit. We placed these Pods into production and monitored the temperature of the hard drives utilizing the SMART stats we take each day. Nothing changed, as the drives stayed cool and didn’t fail at higher rates. In Storage Pod 5.0 we only use three fans which are now thinner (25mm vs. 38mm) and lower in power than before. We also created a “fan module” to hold all three fans in one bracket. After removing the covers, it takes just two screws to remove the new fan module. This speeds up assembly and reduces downtime during replacement of a failed fan. It also lowers the overall cost of the chassis.
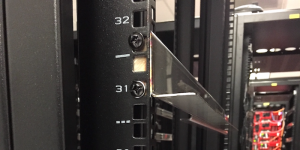
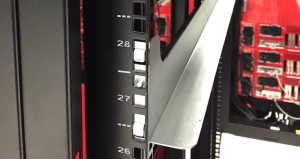
Rails: Or should we say, tool-less rails. We redesigned the rails to be tool-less as you can see below. They are easier to install and remove, and are less expensive to manufacture then the previous type of rails. Here are the specifications if you’d like to make yourself a pair.
What We Didn’t Change
To the delight/dismay of the reddit community, we did not change the on-off switch. Call us sentimental fools, but we continue to shell out the big bucks for our special blue-light switch. Oh, we looked at a few others; we even tried a couple out, but in the end we stuck with the one we had. OK, it actually has a lot to do with wiring and what type of power is needed versus what’s available. But let’s just say we like the blue light and leave it at that.
We also did not change the five-port backplanes. The SATA 3 (6 Gbit/s) backplane speed provides the throughput needed at the right price, so there was no need to change or upgrade this item. If there is a place for improvement, it is the PCIe bus. Our current PCIe x2 SATA cards utilize one PCIe lane for two SATA ports. We are looking at different strategies to remove this last potential bottleneck.
The Cost
There are actually three different prices for a Storage Pod. Here are those three costs of an 180TB Storage Pod 5.0 system, including 45 Seagate (4TB) ST4000DM000 drives, for the scenarios noted:
- $7,974.44<./strong> The cost for Backblaze, given that we purchase 300+ Storage Pods per year.
- $8,493.11. The cost for you to build one Storage Pod by buying the parts and assembling it yourself.
- $10,439.10. The cost to you to purchase one already assembled Storage Pod from a third-party supplier, and then purchase and install the hard drives yourself.
These prices do not include packaging, shipping, taxes, VAT, etc.
Below are the Backblaze costs for building the different Storage Pod versions.
| Storage Pod Version | ||||||
|---|---|---|---|---|---|---|
| 1.0 | 2.0 | 3.0 | 4.0 | 4.5 | 5.0 | |
| Backblaze Cost | 7,867 | 7,394 | 7,568 | 9,305 | 8,688 | 7,974 |
| Drive Size (TB) | 1.5 | 3 | 3 | 4 | 4 | 4 |
| Total Storage | 67 | 135 | 135 | 180 | 180 | 180 |
| Cost per GB | 0.117 | 0.055 | 0.056 | 0.052 | 0.048 | 0.044 |
As you can see in the table above, Storage Pod 5.0 is less expensive per GB to build and fill with hard drives than all its predecessors. The entire system, fully populated with 180TB worth of hard drives, costs Backblaze just over $0.044 per GB, and that includes assembly costs (labor). In addition, with the price of larger capacity hard drives starting to move down the pricing curve, the cost per GB for these hard drives should continue to decrease and drive down the cost of each Storage Pod we build.
Why Did the Cost Go Down?
Before we celebrate the drop in the Storage Pod cost, let’s take a look at why it decreased. Was it market forces at play driving down the per GB cost of the hard drives? Or did the cost of the Storage Pod chassis and components drop, meaning our design efforts using Agile and Scrum actually made a difference? Here’s the breakdown of the costs (labor not included) comparing Storage Pod 4.5 with Storage Pod 5.0. Remember, these are Backblaze costs based on our purchasing 300+ Storage Pods per year.
| Storage Pod 4.5 | Storage Pod 5.0 | Change | |
|---|---|---|---|
| Chassis and Components | $2,563.31 | $2,349.44 | -8.3% |
| Drives (45 Seagate 4TB) | $5,850.00 | $5,175.00 | -11.5% |
| Totals | $8,413.31 | $7,524.44 | -10.6%% |
Given that Storage Pod 5.0 is faster and beefier than 4.5, and given the expected decrease in assembly and maintenance costs, the time spent designing Storage Pod 5.0 using Agile seems to have been worth the effort. Based on our calculations, we estimate the time to recover our investment in the process to be 8-10 months. That includes the startup costs and learning curve associated with Agile and Scrum.
Buying a Storage Pod
Backblaze does not sell Storage Pods or parts, but below you’ll find a source for Storage Pod hardware.
45drives.com:
- They are a subsidiary of Protocase and make Backblaze inspired Storage Pods based on the 3.0 and 4.0 Storage Pod designs. 45drives.com currently builds Storage Pods based on their direct-wire design. They offer multiple versions of their Storinator line starting at $3,350 for a base 45-drive system, with a Storage Pod 5.0 comparable system costing $4,600–$5,000 (not including hard drives).
Building Your Own Storage Pod
If you are so inclined, you can build your own Storage Pod.
-
- Start by reviewing the drawings/specifications for the various components. We’ve created a ZIP file (42MB) containing the following drawings and specifications to help you out:
- Chassis_edrawings_file_P5.EASM
- Pod5_Chassis-2D.PDF
- Pod5_Chassis_STEP_file.STEP
- PSU1_power_to_backplane_P5.pdf
- PSU1_pigtail_P5.pdf
- PSU2_power_to_backplane.pdf
- PSU2_pigtail_P5.pdf
- Power_cable_routing_P5.pdf
- PSU1_all_connections_P5.pdf
- PSU2_all_connections_P5.pdf
- SATA_cable_routingP5.pdf
- sata_card_motherboard_locations_P5.pdf
- Drive_guide_2D_P5.PDF
- Drive_guide_Solidworks_drawing_file_p5.SLDDRW
- Drive_guide_Solidworks_partsfile.SLDPRT
- Drive_guide_Solidworks_exchange.STL
- Rail_left_2D_P5.PDF
- Rail_right_2D_P5.PDF
- Rail_left_STEP_file_p5.STEP
- Rail_right_STEP_file_p5.STEP
- Start by reviewing the drawings/specifications for the various components. We’ve created a ZIP file (42MB) containing the following drawings and specifications to help you out:
If you are still interested, here’s where you can download the ZIP file containing these files.
- Next, you’ll want to download the Storage Pod 5.0 Build Book. This guide will walk you through the assembly process for Storage Pod 5.0.
- Finally, you can gather up all the parts you’ll need to build your Storage Pod. You can use the Parts List in Appendix A as a shopping list to buy the components needed, although you may find it easier to buy kits (assembled or as parts) from the vendors noted above.
As a reminder, Backblaze does not sell Storage Pods, and the design is open-source, so we don’t provide support or warranty for people who choose to build their own Storage Pod. That said, if you do build your own, we’d like to hear from you. In the meantime, you can find fellow Pod builders at www.openstoragepod.org and www.45drives.com/community.
What’s Next?
As part of using the Agile design methodology, we are continually working on improving the Storage Pod design. So even though Storage Pod 5.0 is here, we’re already working on improvements. Here are a few of the items we are working on:
- Using only one power supply.
- Upgrading the motherboard to the Supermicro X11 line.
- Upgrading the CPU.
- Extending the chassis to support 60 drives.
- Adding a hot spare data drive.
- And (dare we say), replacing the power switch…
As new ideas make it into production, we’ll let you know.
Appendix A: Storage Pod 5.0 Parts List
Below is the list of parts you’ll need to build your own Storage Pod 5.0. The prices listed are “street” prices, meaning you should be able to find these online or from manufacturer in quantities sufficient to build one Storage Pod. Good luck and happy building.
Includes case, supports, trays, etc.
EVGA Supernova NEX750G
FAN AXIAL 120X25MM VAPO 12VDC
1 X 3 WITH RAMP AND RIB
Power Supply Vibration Dampener
AFM03B (2 tab ends)
Supermicro MBD-X9SRH-7TF-O (MicroATX)
DYNATRON R13 1U Server CPU FAN
Intel XEON E5 -1620 V2 (Quad Core)
PC3-12800 DDR3-1600MHz 240-Pin
5 Port Backplane (Marvell 9715 Chipset)
4-PORT PCIe Express (Marvell 9235 chipset)
SATA cables RA-to-STR 1M locking from Nippon Labs
500GB 5400RPM SATA 2.5″ SATA II
24-pin – Backblaze to Pigtail
20-pin – Backblaze to Pigtail
24-pin – EVGA NEX750G Connector
20-pin – EVGA NEX750G Connector
NOTES:
- Sunrich and CFI make the recommended backplanes and Sunrich and Syba make the recommended SATA Cards. These items may be purchased via Arrow (a distributor).
- Nippon Labs makes the recommended SATA cables.
- These parts may be purchased as part of a Backbone Kit.
- The boot drive can be any 2.5 or 3.5 inch internal drive.












 Marjorie Joins the Engineers